


To establish an SSH connection with your web hosting package, you will need the appropriate software to set up the connection. You will also need to register a valid SSH key in order to connect to the system.
We cover these points for you in this help article.
Important note:
You should have at least a basic understanding of Linux to work with SSH, as there are many functions available and fewer security prompts are displayed.
Incorrect command-line commands can, in the worst-case scenario, lead to data loss or corrupted files.
SSH software - PuTTY
PuTTY, which is free and open source, is one of the standard programmes used for SSH connections.
PuTTY Download
You can download it directly from the developer’s website: https://www.putty.org/
PuTTY settings
Connection details
Once you have launched PuTTY, enter the relevant host name or IP address of your hosting server. The port is the standard port ‘22’ and does not need to be changed.
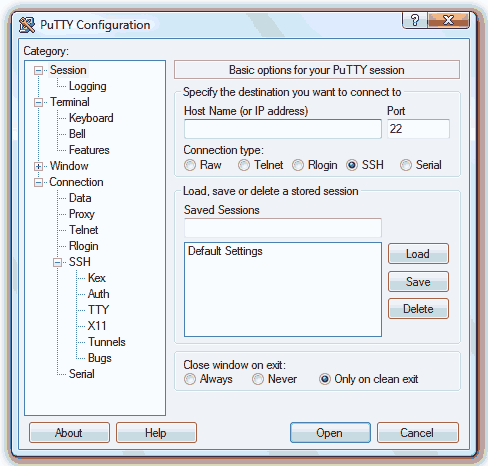
Generate an SSH key in PuTTYgen
SSH public-key authentication - Generate an SSH key
Register the SSH key on the web server
SSH public-key method - Add an SSH key
Storing an SSH key in PuTTY
We maintain high security standards for our hosting servers; accordingly, logging in via SSH is only possible using SSH keys, not a password.
You must therefore store your SSH key in PuTTY:
- Launch the PuTTY software.
- In the left-hand menu, go to ‘Connection’ -> ‘SSH’ and select the ‘Auth’ tab.
- Click on ‘Browse’ to the right of the ‘Private key file for authentication’ field and select your private key file.
- You can then log in to the system via the “Session” option.