

Setting up an online shop using WordPress and WooCommerce is well worth it, as quick and easy online shopping continues to grow in popularity. For many shop owners, having their own online shop has become a key source of income. Those who sell their goods exclusively online stand to benefit even more from having their own website.
The advantages of having your own online shop
Having your own online shop allows you to showcase and sell goods and services to customers round the clock. Anyone looking for a solution to a problem or with a specific request will, these days, turn to a search engine first. A good website is worth its weight in gold, as it can provide the solution they’re looking for or fulfil their request in a matter of seconds.
It also offers independence from the major marketplace providers. Your own website can be designed in every respect to reflect your brand or corporate image. It’s easy to add a blog, an FAQ section or other sources of information. Once a customer has landed on the website, they can see for themselves the quality of the products on offer, without the competition being in the immediate vicinity. However, if you want to be successful, there are a few things you need to bear in mind.
What to bear in mind beforehand
A crucial factor for success is the speed of the website. A slow site not only ranks lower on Google and other search engines, but can also mean that potential customers do not stay on the site for long. The speed and functionality of the site are influenced by many factors; one very important one is the services offered by the hosting provider.
If the site inherently has longer loading times or lower uptime - that is, the time it is available - plugins, image optimisation and so on can only go so far in improving performance. Whilst the latter aspects can still be adjusted relatively easily, the choice of hosting provider requires careful consideration. Sufficient SSD storage space, high availability and comprehensive security measures should always be included in the e-commerce hosting package you book.
Setting up the WordPress site
Once the first step has been taken and the shop hosting package has been booked, you can get started with setting up WordPress. With the WordPress Toolkit, even beginners can do this with ease. The site can be installed and configured with just a few clicks, and the Toolkit also makes administration much easier.
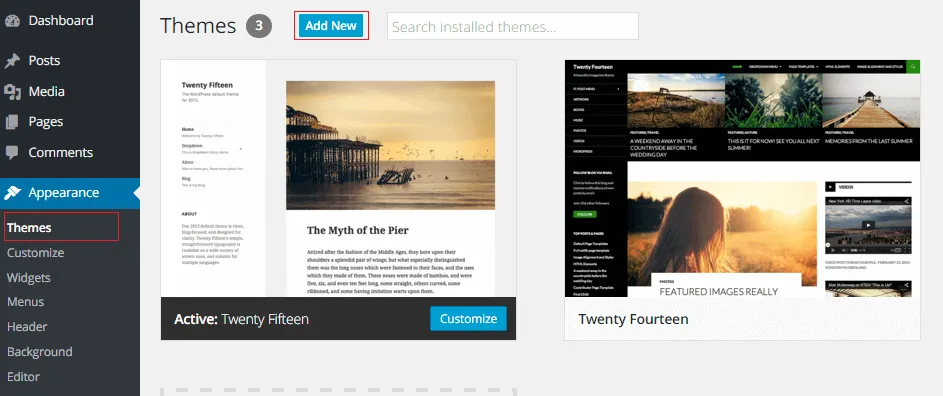
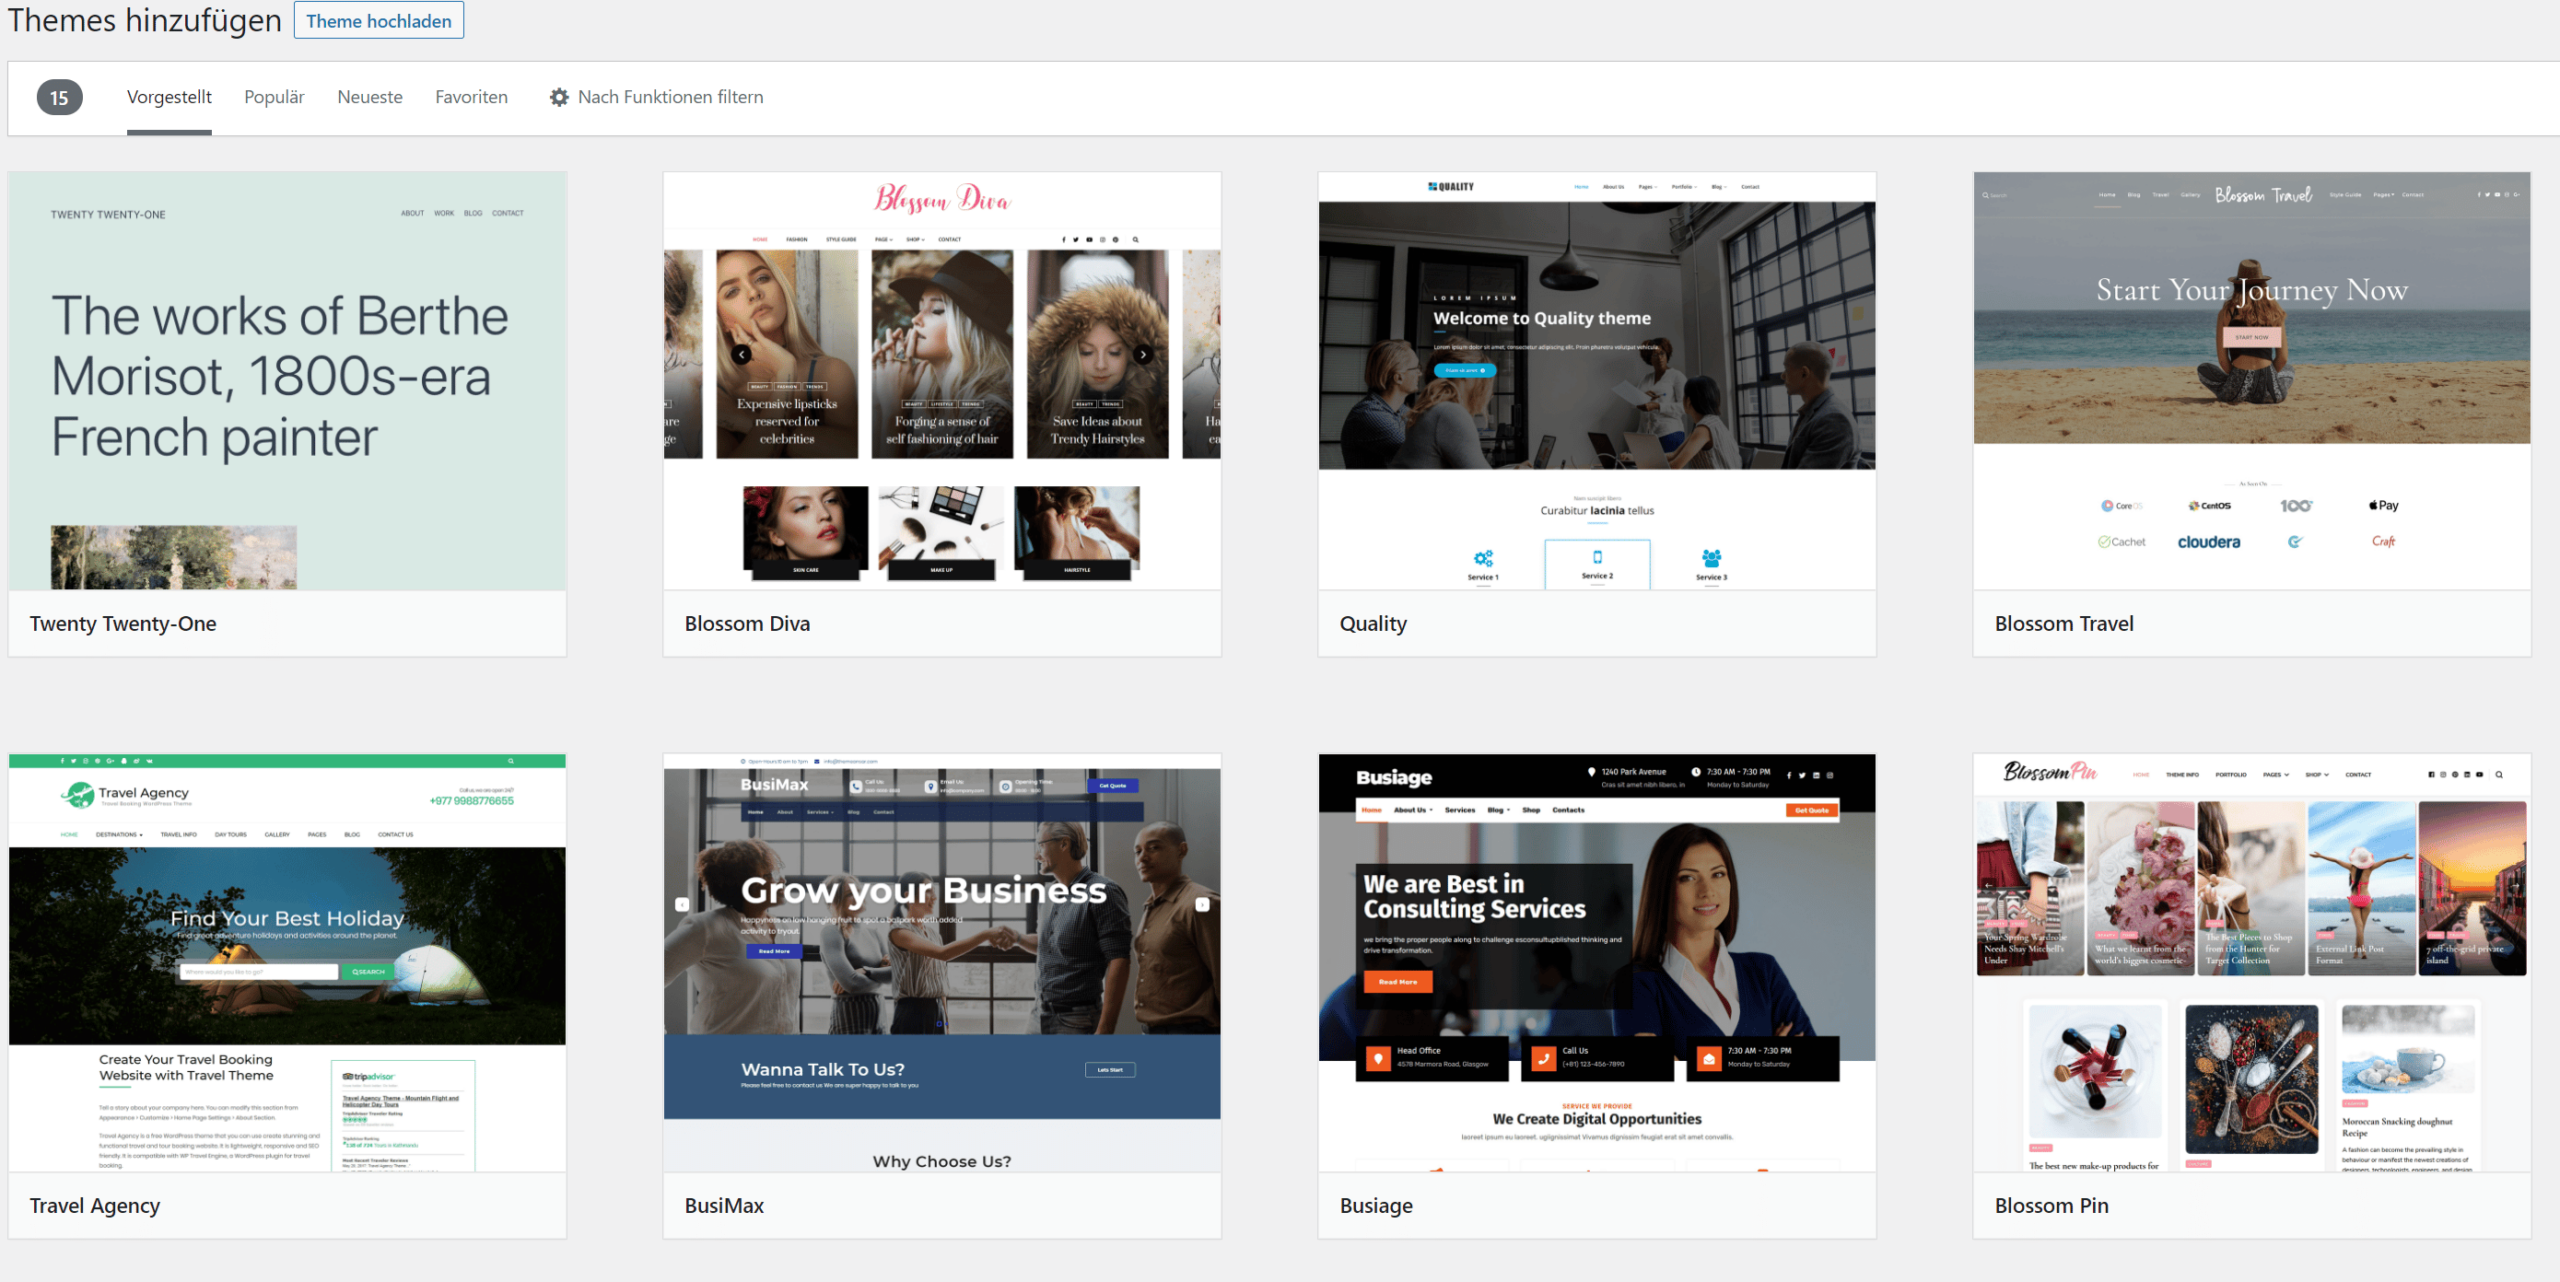
Once the site has been successfully set up, the first plugins should be installed and the necessary legal notices added. Whilst the site is being set up, it is advisable to use construction or maintenance mode, which can be enabled via plugins designed specifically for this purpose or may already be included in the theme. Choosing a theme is another point you should be considering by now at the latest. It should, in any case, be suitable for the shop functionality so that the WooCommerce plugin works flawlessly later on. WordPress provides a selection of suitable themes, but those from external providers have also rightly established themselves in the business world.
The cookie banner is also essential. It is vital to familiarise yourself with the legal requirements here, as not every cookie banner on offer is suitable for sites such as online shops.
Once the basic structure is in place, you can start setting up the shop. To do this, you’ll need to install the WooCommerce plugin. This can be done in just a few clicks. Simply go to the ‘Plugins’ menu, select ‘Install’, open the relevant page and enter ‘WooCommerce’ in the search bar. It should now appear at the very top of the results, and all you need to do is install and activate it. To comply with all the legal requirements of the German market, WooCommerce must also be supplemented with the WooCommerce-Germanized or German Market plugin.
Getting started with your online shop using WooCommerce
Now you’re ready to get started properly. First, you need to set up the WooCommerce plugin, starting with the basic settings such as location, currency, VAT, delivery costs and payment options. These can be changed and adjusted at any time later via the ‘Settings’ menu item. Here, in addition to general settings such as the business address and currency, you can also configure further details.
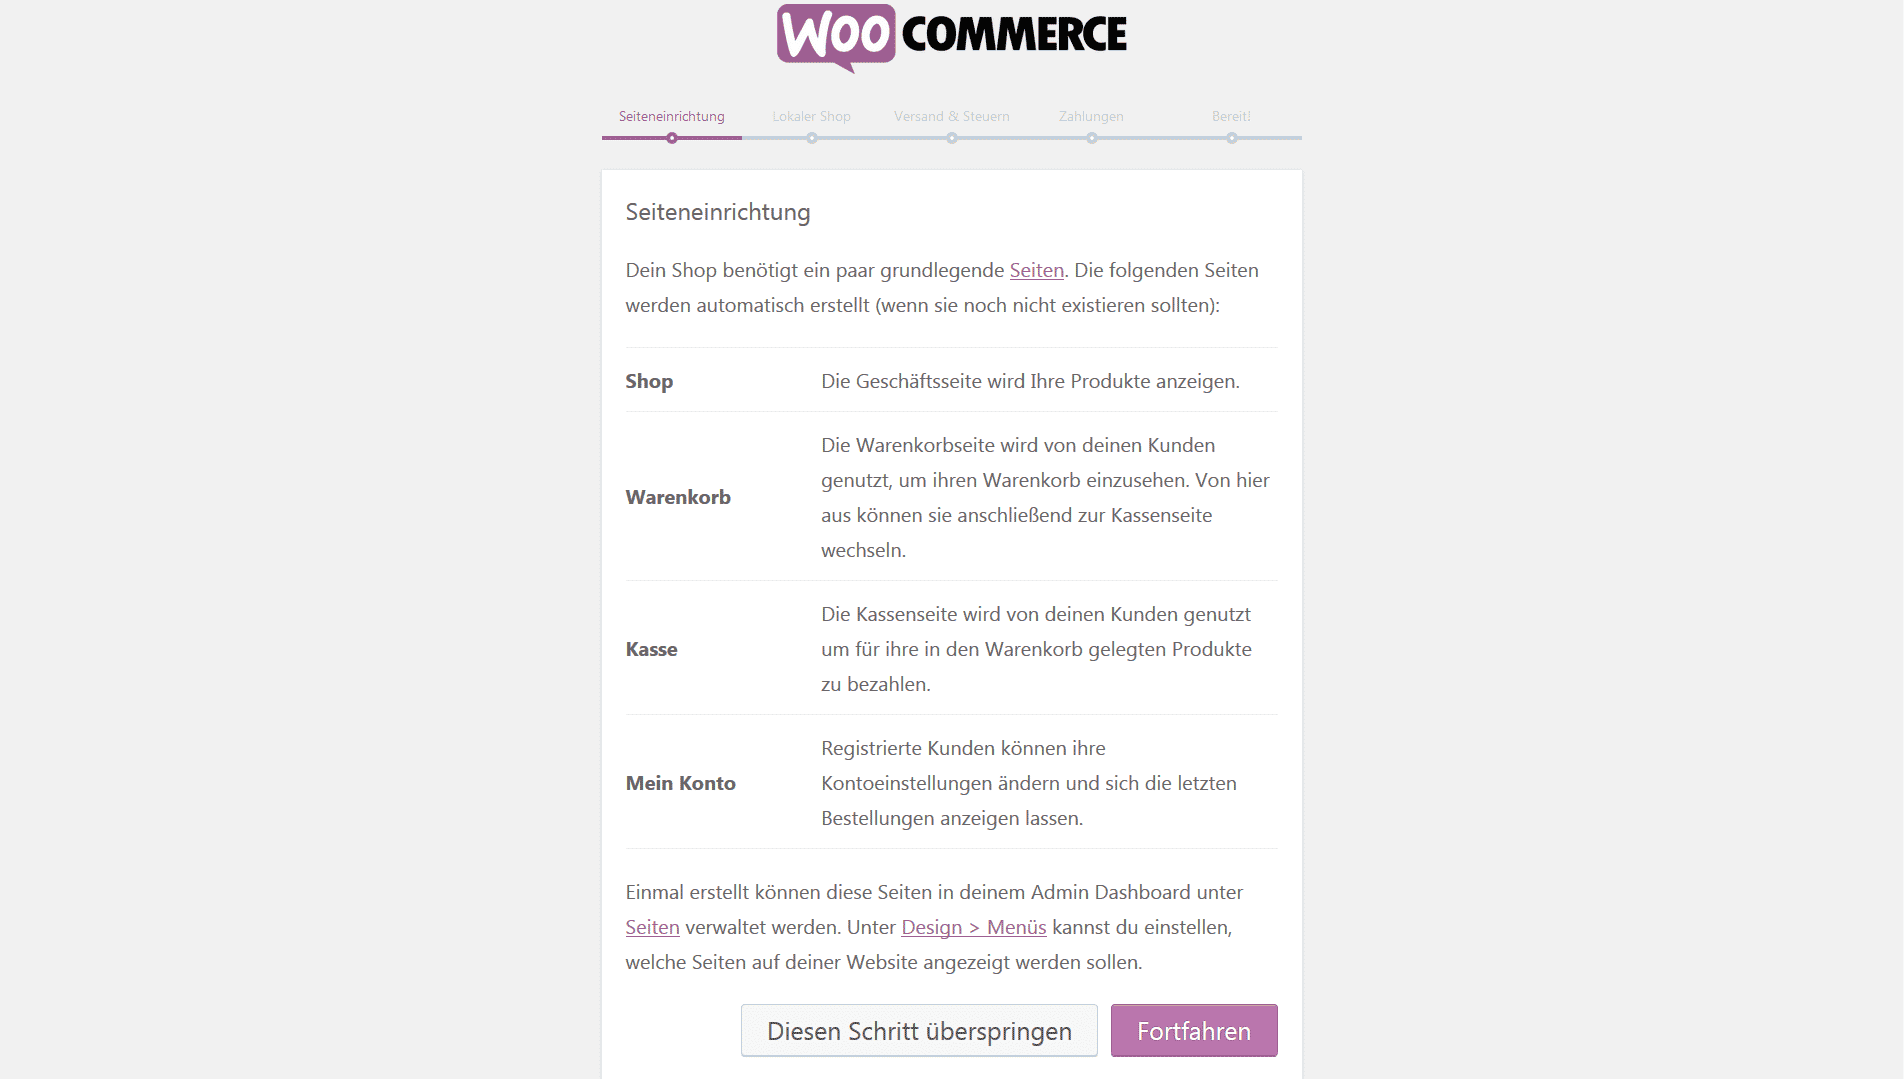
Under the ‘Products’ tab, you can set up the shop page and specify details regarding dimensions, product reviews, the layout of the product overview page, stock levels and downloadable products.
Next comes the ‘Shipping’ tab, where you can configure shipping zones, shipping options and shipping classes.
Available payment options can be specified under the following tab. Furthermore, information regarding accounts & privacy, emails and integration is requested. Additional details can be entered under the ‘Advanced’ tab.
In addition to configuring the WooCommerce plugin, further details should also be set under the ‘Settings’ menu item. This item is part of the WordPress settings and is located in the sidebar. Here, for example, the website title, date format, access permissions and the permalink structure are defined. Once everything has been configured under ‘Settings’, the first products can be added to the shop.
How to add products to the shop
Products and categories can be created and edited under the ‘Products’ menu item. Categories can be added either beforehand or directly whilst creating the product.
To create a product, first locate the “Products” menu item in the sidebar and then click on “Create”. An input form will now open, into which you should first enter the product name. As soon as your entry is saved, a URL is automatically generated.
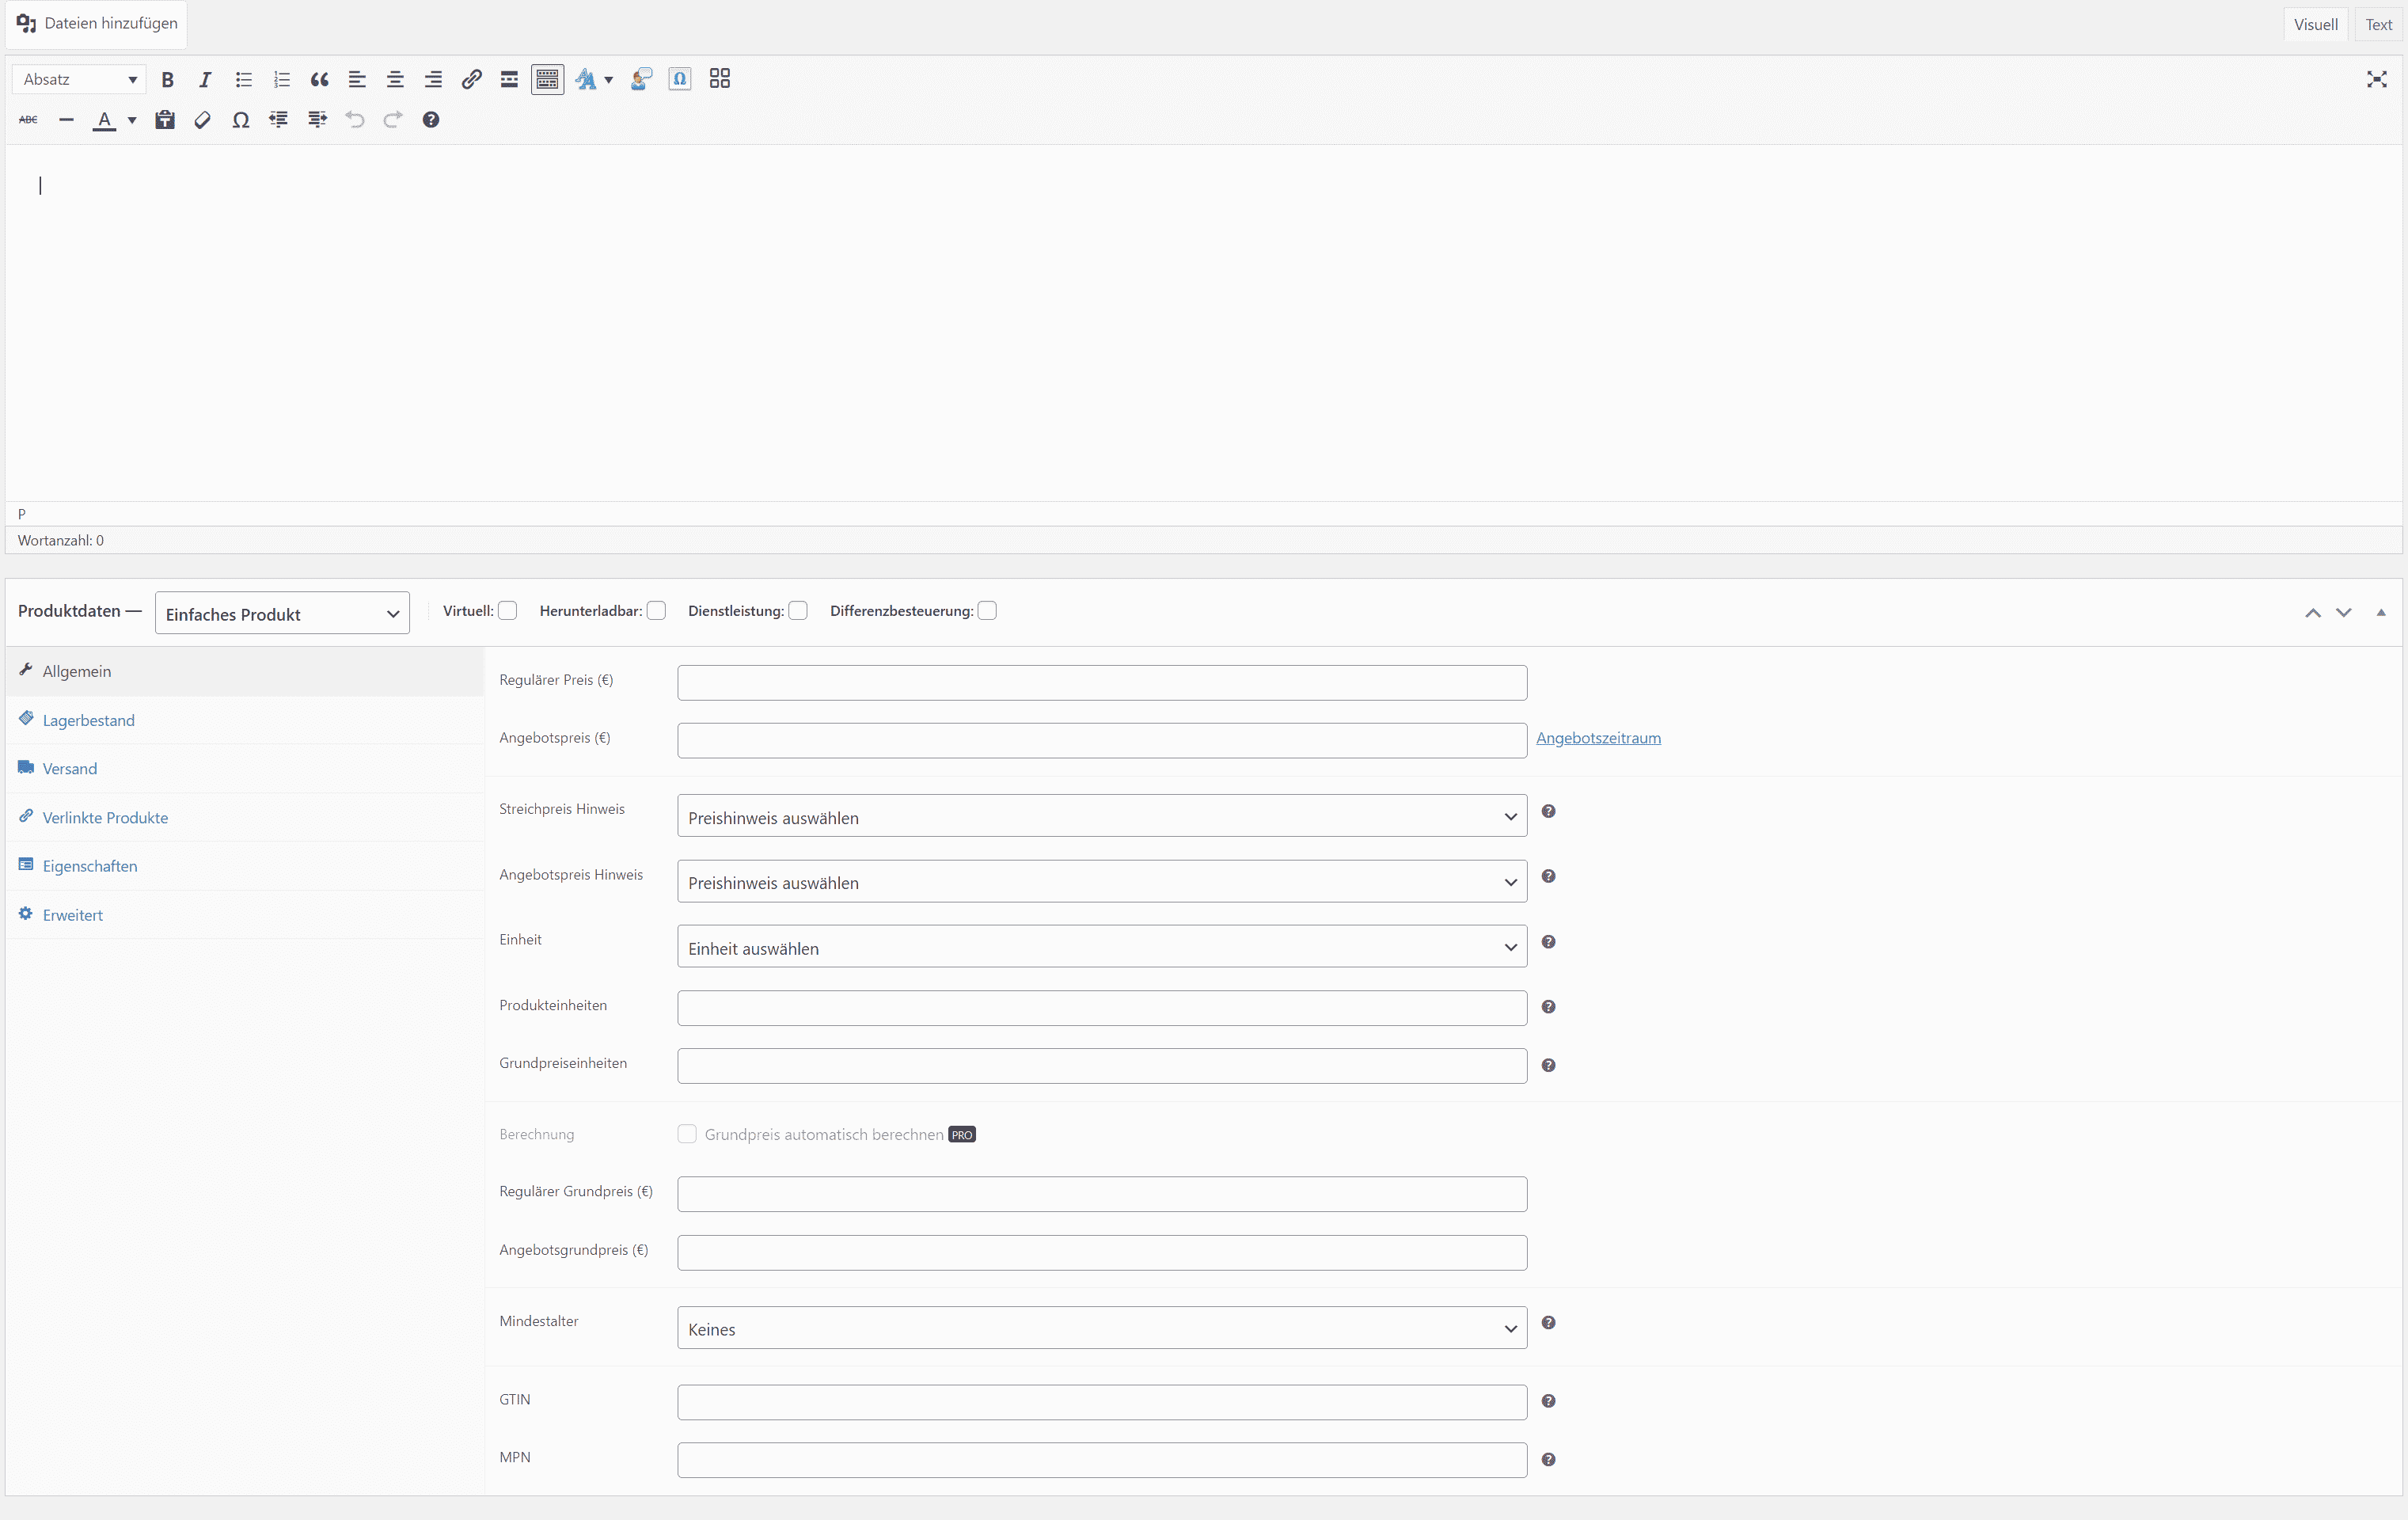
All the key information about the product can now be entered into the text field below. Here, you have a wide range of formatting options and can add files or forms. Next, you can enter the product details, primarily the price and delivery time. Special offer prices can also be set here. In this section, you can also provide further details on stock levels, dispatch and product features. If there are different variants of the product - for example, different colours or sizes - you must first select ‘Variable product’ at the top of the ‘Product details’ section.
Attributes can be created in the sidebar menu under ‘Products’ - ‘Attributes’. An attribute could, for example, be ‘Colour’. Once created, it appears in the list on the right, where you can now assign various values to it - such as blue, red, green and yellow - under ‘Configure terms’. You can then access this attribute in the product editor and select which values should be displayed for this product, for example, blue and red. Separate details regarding price, stock levels, etc. can be entered for each variant.
In the next section, ‘Product Short Description’, you can enter the most important details about the product; these will later appear at the top of the view next to the product photo, whilst the detailed text entered at the beginning appears further down.
Important information to be displayed in the shopping basket can be added at the end. In the right-hand sidebar, you’ll first see the product’s status - whether it’s a draft or a published product - and you can save the settings there and finally publish the product. Furthermore, you can specify the category here, as well as keywords under which the product can later be found. In addition to further display options, you can also add product images here.
Uploading and inserting images
Clicking on ‘Set product image’ opens another window - the media library - where all existing images are displayed. This should still be empty or contain photos from demo versions, which are best deleted. In the top left-hand corner is the ‘Upload files’ tab; this is where you can now add images.
If you do not want to compress and resize each image individually, you would be well advised to use an image optimisation plugin. Providing images in the correct size and format has a significant impact on the speed and display of the page. It is therefore advisable to ensure from the outset that the best possible settings are used here.
Once an image has been uploaded, details such as alt text, image caption and copyright information can be added before it is finally set as the product image. The same procedure applies to the images intended for display in the product gallery. Once all the product details have been entered and all images added, you can first use the preview function, located at the top of the right-hand sidebar, to view the product as it will appear in the shop. If you are satisfied with the result, you can now publish your first product.
Customising the shop’s appearance
Whilst the products are the heart of the online shop, its appearance is also of great importance. This can be configured via the theme settings. Here, for example, you can specify which areas are which colour or which fonts are used. Depending on the theme, numerous other parameters can be adjusted to customise the shop as much as possible. In the theme options, you can also add a logo and a favicon - the small image that appears, for example, in the individual tabs of your browser.
The Customiser offers further design options. The menu to be displayed on the website can be configured here, or so-called widgets can be assigned to specific areas of the page. Widgets enable specific additional functions or displays, such as product reviews, a calendar, a list of categories or a tag cloud. Once everything has been set up and configured to your satisfaction, you can switch off maintenance mode and launch your own online shop.
Conclusion
Having your own online shop offers almost limitless design options for presenting your products in style. With the help of a WordPress site and the WooCommerce plugin, you can create your own website even without much prior knowledge.